
This post shows how to install VMware Horizon 7 core components, step by step.
Introduction
Before installing, a quick introduction about Horizon components and how they fit together:

- Client Devices: laptop, PC, thin client device, Mac, tablet or phone.
- Horizon Connection Server: software service that acts as a broker for client connections. It authenticates users through Windows Active Directory and directs the request to the appropriate virtual machine, physical PC, or Microsoft RDS host.
- Horizon Client: the client software for accessing remote desktops and applications.
- VMware Horizon User Web Portal: from a Web browser on a client device, end users can connect to remote desktops and applications through the browser, automatically start Horizon Client, or download the Horizon Client installer.
- Horizon Agent: an installed service on all virtual machines, physical systems, and Microsoft RDS hosts that you use as sources for remote desktops and applications. It communicates with Horizon Client to provide features such as connection monitoring, virtual printing, Horizon Persona Management, and access to locally connected USB devices.
- Horizon Administrator: Web-based application that allows administrators to configure Horizon Connection Server, deploy and manage remote desktops and applications, control user authentication, and troubleshoot end-user issues.
- View Composer: service that can create a pool of linked clones from a specified parent virtual machine.
- vCenter Server: this service acts as a central administrator for VMware ESXi servers that are connected on a network. vCenter Server provides the central point for configuring, provisioning, and managing virtual machines in the data center.
Read more on VMware Docs How the Components Fit Together.
We are going to focus in Composer and Connection Servers in this post.
General Requirements
- Check the System Requirements for Server Components.
- Check the System Requirements for Guest Operating Systems.
- Prepare the Active Directory. Make sure to use the right folder when you Add the ADMX Template Files to Active Directory:
- \\YourDomain\SYSVOL\YourDomain\Policies\PolicyDefinitions (not %systemroot%\PolicyDefinitions)
View Composer Installation
- Prepare the Database
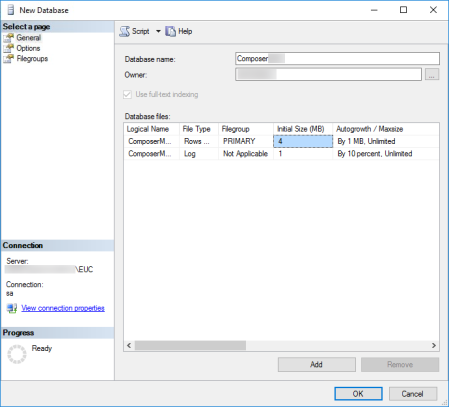
- Create a New Database… using Microsoft SQL Server Management Studio (Start -> All Programs -> Microsoft SQL Server 2014/2012/2008)

- Type a Database Name, select the Owner (Active Directory Horizon Service User recommended) and click OK.
- Go to Start -> Administrative Tools -> Data Source (ODBC) -> System DSN and click Add….
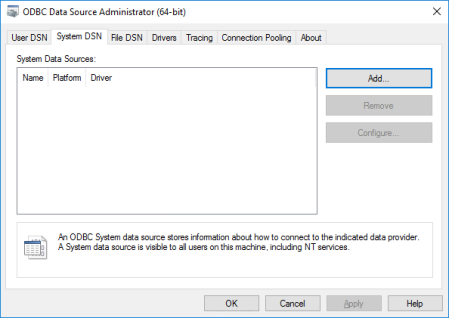
- Select SQL Server Native Client and click Finish.

- Type ODBC Name, Description, SQL Server (FQDN\Instance) and click Next.

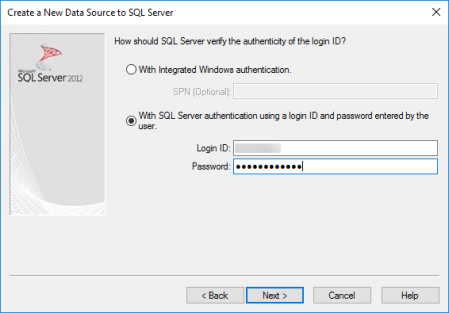
- If you are using a local express database, you can use Windows authentication. If not, you must use SQL Server authentication.
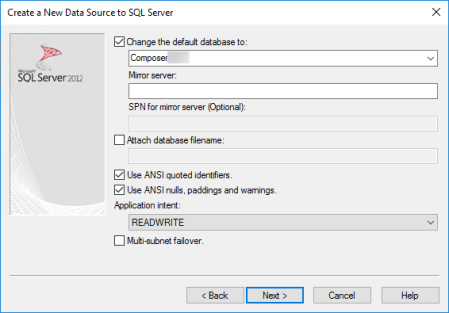
- Change the default database to Composer DB and click Next.
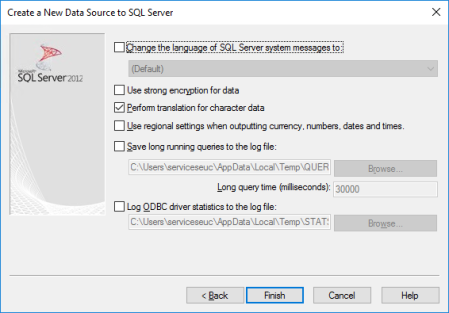
- Click Finish.
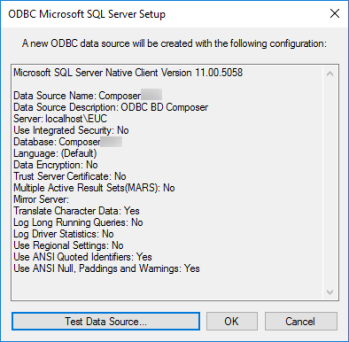
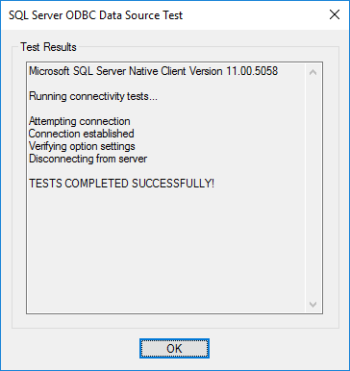
- Test Data Source… to make sure all the parameters and connectivity are correct and click OK twice.
- Create a New Database… using Microsoft SQL Server Management Studio (Start -> All Programs -> Microsoft SQL Server 2014/2012/2008)
- Download the installer VMware-viewcomposer-7.y.y-xxxxxxxx.exe on my vmware.
- Execute the .exe file.
- Click Next.

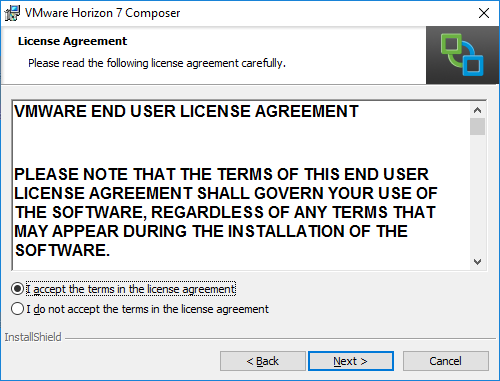
- Select I accept the terms in license agreement and click Next.
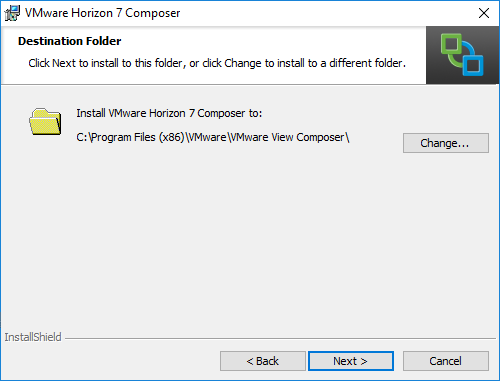
- Select the Destination Folder and click Next.
- Enter the DSN, username and password you created on step 1. Click Next.

- Validate the SOAP Port and click Next.

- Click Install to begin the installation.

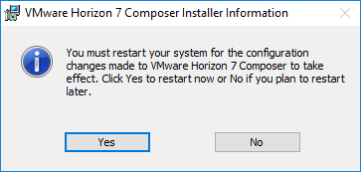
- Once completed, a restart is needed. Click Yes.
Connection Server Installation
A Standard Connection Server generates an instance with a new View LDAP configuration.
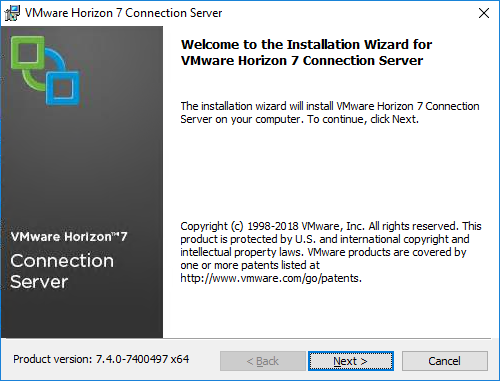
- Download the installer VMware-viewconnectionserver-x86_64-7.y.y-xxxxxxx.exe on my vmware.
- Execute the .exe file.
- Click Next.
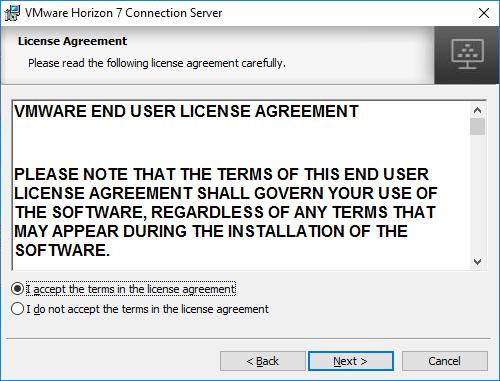
- Select I accept the terms in the license agreement and click Next.
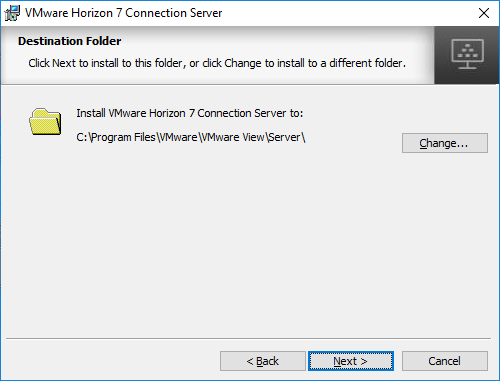
- Select the Destination Folder and click Next.
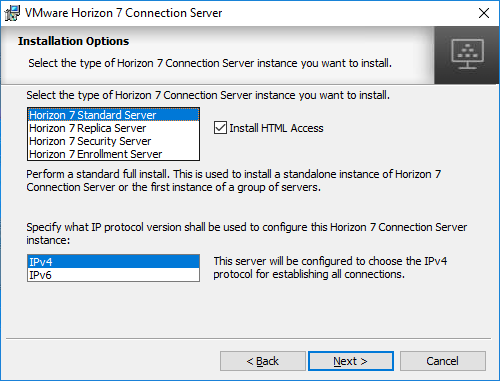
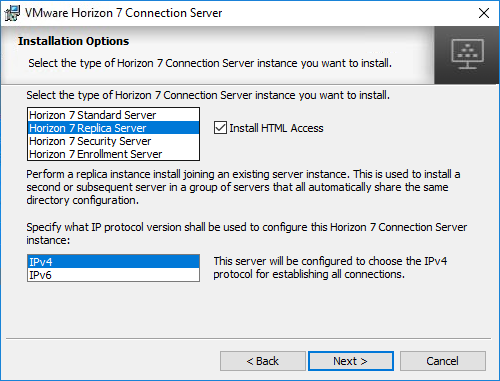
- Select the Connection Server Type, Install HTML Access, the IP Protocol and click Next.
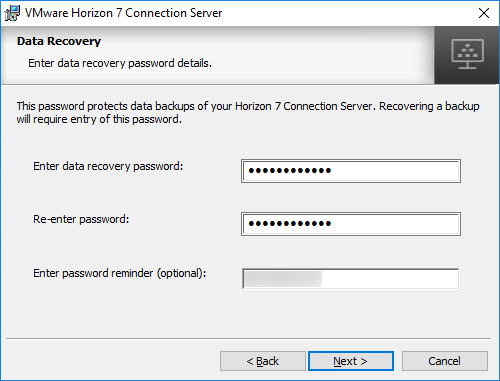
- Enter data recovery password details and click Next.
- Select Configure Windows Firewall automatically. Windows Firewall Service must be running on the Connection Server VM.

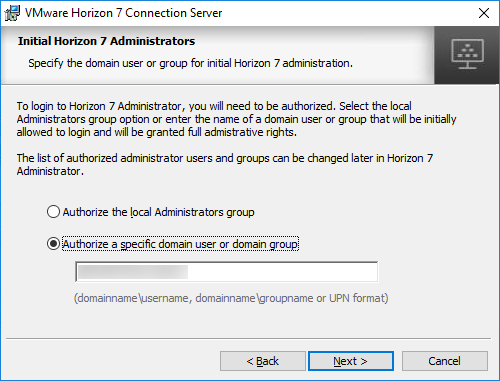
- Specify the Service Domain User you created in General Requirements section.
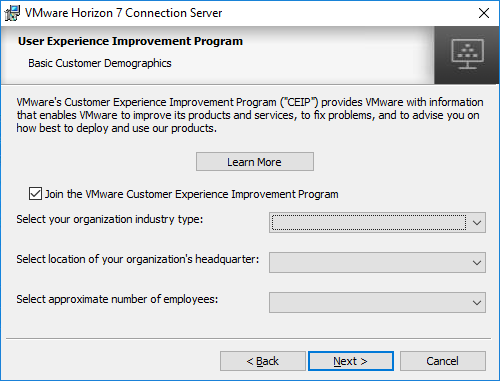
- Join VMware’s Customer Experience Improvement Program selecting your organization industry type, headquarter and number of employees. Click Next.
- Click Install to begin the installation.
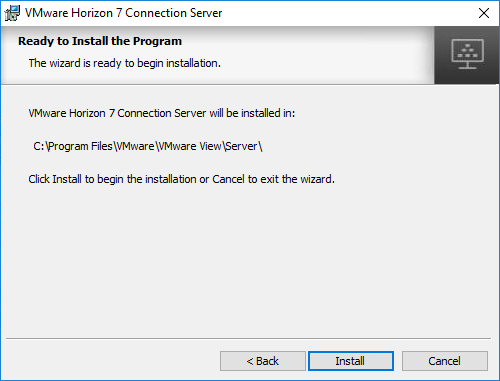
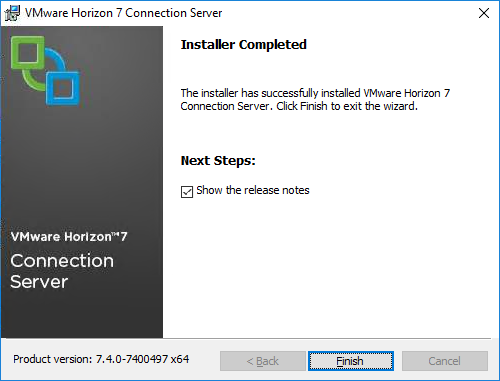
- Once completed, click Finish.
Connection Replica Server Installation
A Replica Connection Server generates an instance with a View LDAP configuration that is copied from an existing instance.
- Steps are very similar to Connection Server Installation section.
- Differences:
- Step 6. Select Horizon7 Replica Server instead Horizon 7 Standard Server.
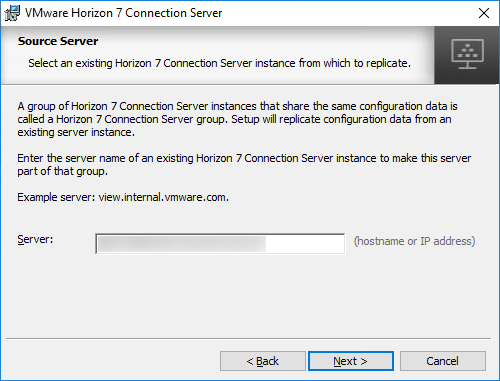
- You must select the Server Source (Standard Connection Server). Type the FQDN.
- Step 6. Select Horizon7 Replica Server instead Horizon 7 Standard Server.
- Differences:
Security Server
Security Server is useful if you have a small environment, because it can only be connected to one (1) Connection Server. This means that it won’t be very effective if you have multiple Connection and Replica Servers.
If you want to know how to install it, check Install a Security Server.
Unified Access Gateway (UAG) Installation
Instead of Security Server, UAG can be connected to multiple Connection and Replica Servers through Load Balancers. This is very useful when you have a medium or large environment.
More details in VMware Unified Access Gateway (UAG) Installation – Step by Step post.
Horizon Configuration
Once you finish to install the core components, you should follow this steps to use your Virtual Desktops:
- Configure core components to fit together.
- Prepare your desktop templates.
- Configure GPOs. See VMware Horizon 7: Top 5 GPOs you should configure.
- Deploy Desktop Pool.
More details in VMware Horizon 7 Configuration – Step by Step and VMware Unified Access Gateway (UAG) Configuration – Step by Step posts.
Horizon Certificates
More details in VMware Horizon 7 SSL Certificates post.
REFERENCES
- VMware Official Documentation:

